hey wow how does it work
The Techincal Details
This is a quick writeup on the baords and stuff used to make this possible. For learning more about building your own, the Bitbuilt Forums have a ton of resources and helpful people to explain the process (though be sure to invest some solid time in reading worklogs and such before going straight to DMs, people won’t be super happy if you’re badgering them about something you can find in every worklog).
My worklog for my build can be seen here.
So what’s inside?

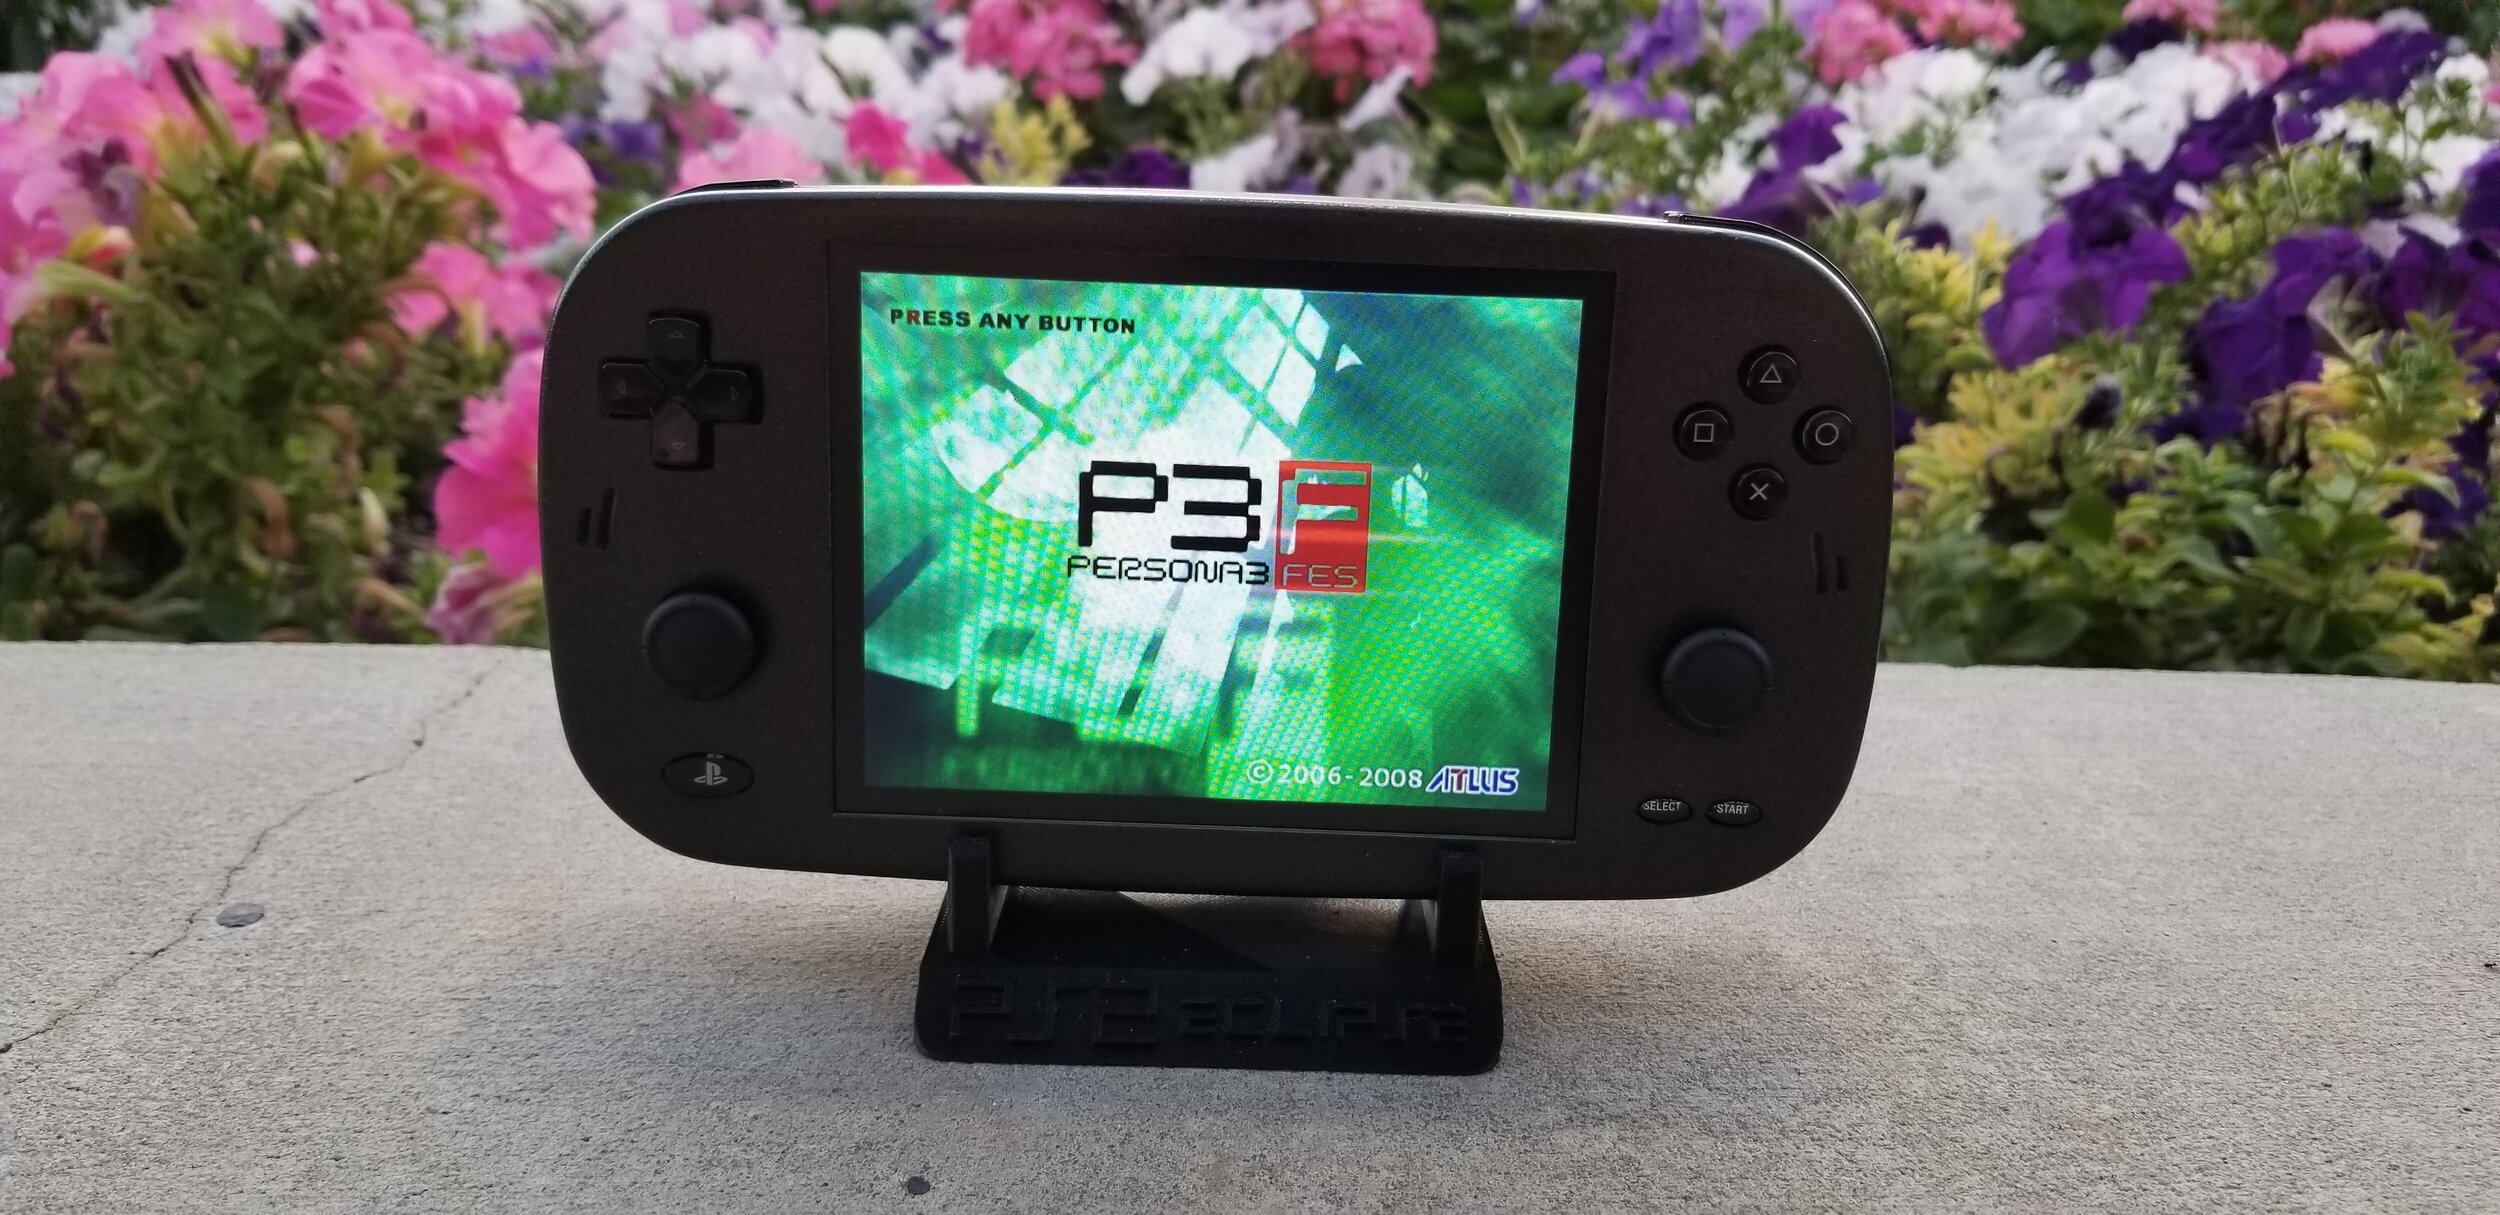
The central feature of this build is the trimmed down PS2 motherboard, which lets up play our PS2 games at full speed. The information on how to cut up your own PS2 can be found in the Definitive PS2 Trimming Guide.
The screen used is a 5” 480p 4:3 display. The screen quality isn’t incredible, but it’s good enough. I used this screen because it’s a nice size, and because unlike a lot of other TFT displays, this one can understand the interlaced VGA signal from the PS2.
The batteries are two 18650 cells, with a capacity of ~3400maH each. The system gets around 2.5 hours of battery life.
To safely charge the batteries and manage the voltages needed for the system to run, a PS2 PMS was used. Unfortunately there currently is not a place to purchase these boards right now, though hopefully a store front in the future will sell them, as it’s a super convenient tool for portables like this.
The controls are a combination of Nintendo Switch joysticks, 3D printed bumpers/triggers, and PS Vita buttons. The home button from the Vita has been repurposed to be the power button on this build.
There are 5 custom circuit boards in this build. The two on the bottom of the front half are just simple boards that have some buttons and a headphone jack.
The board that has the ABXY (or circle triangle square x) buttons also houses a U-Amp, a circuit that takes the raw digital signals of the PS2 and converts them straight to sound through speakers or a headphone jack. It’s a must have board for any portable PS2, you can either use the U-Amp v1 circuit or you can purchase the U-Amp v2 directly here.
The board that has the Dpad also has the microcontroller for PS2+. PS2+ is still not finalized, so a lot of games don’t work with the controller currently, so if you’re doing your own you may be better off cutting up a 3rd party controller and using that as the base controller instead.
The board with the USB-C port has the circuitry for getting charging voltage to the PS2 PMS, and has a USB drive attached to the underside for storage, which is also accessible through the USB-C port. This board is based on Gman’s USB-C PD v1, centered around the STUSB4500.
I’ll be honest, I’m kind of burnt out right now the PS2 Eclipse, I’ve spent the last 3 weeks doing nothing but working on writing, filming, and editing stuff for it so this is all I’ve got right now. I’ll probably come back in the future to add more pictures and such, but the worklog is a good thing to check out for sure.